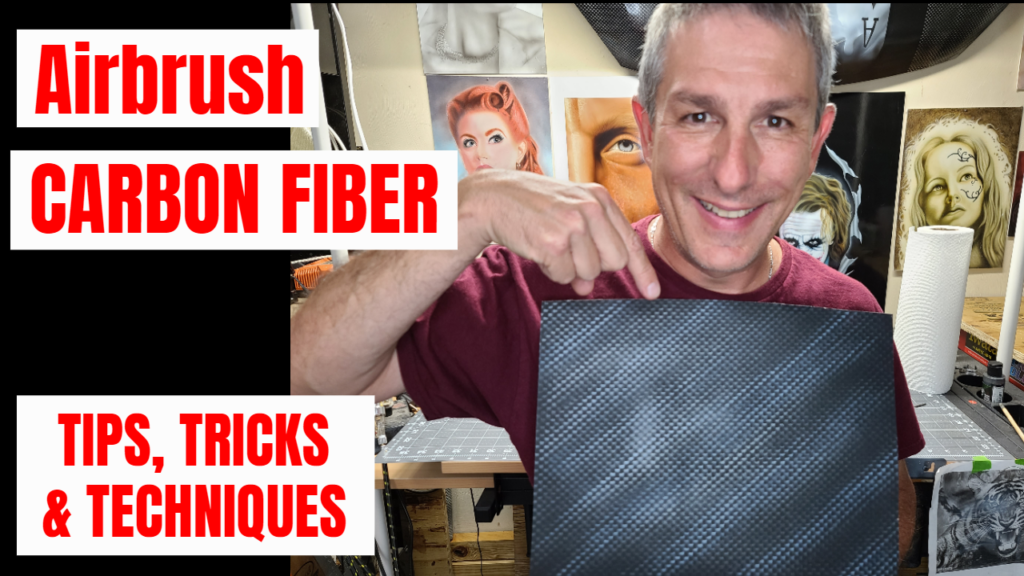
Airbrushing Carbon Fiber is a technique (trick) that is perfect for beginners. Just go to your local dollar store and buy some drawer liner, the rubber kind with the little square holes in it. It usually comes in a roll around two feet wide by several feet long. Now, cut a section of the liner to cover your project area. The first color you are going to use is silver, you can use your airbrush for this if your area is relatively small, otherwise I use a spray can. A spray can of silver will cover quicker, one coat and then you can use your airbrush to add some highlights. Do this by airbrushing white in a diagonal direction a few inches apart of each other. Quick tip, tape your liner at the top so you can lift it and take a look under it to check your work. If you don’t tape it, and you move your liner, you will never get it back in the same location, and you may want to hit a few more highlights, once the liner is moved, you are done! I would like to add that a little gold for some highlights can add a nice touch, as always, experiment on a test panel. I hope this was helpful and keep practicing.
Click on my YouTube channel “The Airbrush Garage” for more helpful tutorials.