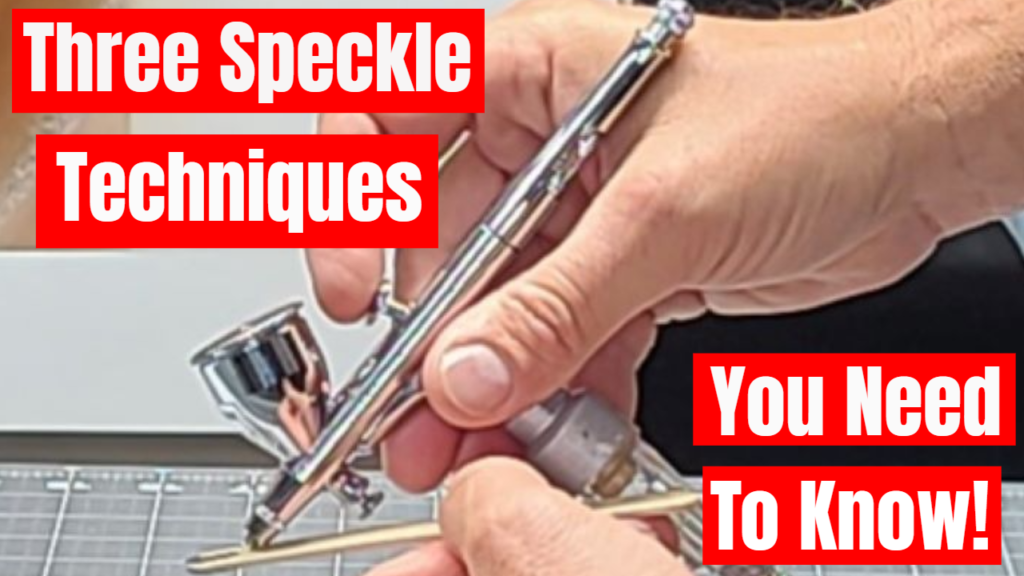
So you need some stars or maybe some texture added to your background. Well… learning a few speckling techniques will do the job and it adds to your bag of tricks. The first technique uses a popsicle stick, I am using Createx acrylic paint (reduced 30 to 50%) at 30 psi. Now, hold your airbrush about half an inch from the popsicle stick at about a 45 degree angle, be careful not to touch your needle on the stick as you run the risk of bending your needle. You can try this technique with your needle cap on, but I like it off. Rest the front of your airbrush, (right under the needle) on the stick, start to spray, move your airbrush different distances from your surface to see the different patterns. The second technique is what I call the “Flick” technique. Start by pulling your trigger back and then forward, NO AIR, this will put paint on the tip of your needle. Now, push down, NOT BACK, and “flick” your wrist in an upward motion, this will dispense only air and push the paint that is sitting on the end of your needle on to your surface in a speckled pattern. You can also do this without the “flick” for a more controlled splatter if you only need it in a certain area. Technique three uses low air presser, this is where I like the MAC valve on an airbrush. If you have an airbrush with a MAC Valve, turn the pressure all the way down until you only have a few pounds of air coming out, if you don’t have the MAC, turn it down at your compressor, start spraying, increase the air pressure until you achieve the speckle patter you are looking for. Perform in all three techniques on test panels before attempting it on your art work. Good luck and as always… Practice, Practice, Practice.
Comment are welcome and appreciated,
The Airbrush Garage,
Dan